wiring12
Network cable installation is a critical aspect of setting up a computer network. It involves laying down cables that will connect different devices to the network, allowing for the transfer of data between them. The installation process requires careful planning and attention to detail, as even the slightest error can cause connectivity issues or a complete failure of the network. Here are some important steps to follow when installing network cables:
  1. Determine the Layout of the Network
The first step in network cable installation is to determine the layout of the network. This involves deciding where to place the network devices, such as switches, routers, and access points, and how to connect them. It is important to have a clear understanding of the network’s needs and the devices that will be connected to it, as this will determine the type and quantity of cables needed.
  1. Choose the Right Type of Cable
There are several types of cables to choose from when it comes to network cable installation. The most common types are Cat5, Cat5e, Cat6, and Cat6a. Each cable type has different performance characteristics and is suitable for different network speeds and distances. It is important to choose the right cable for the network’s needs, as using the wrong type can lead to connectivity issues.
  1. Plan the Cable Routes
Once you have determined the layout and cable type, the next step is to plan the cable routes. This involves deciding where to run the cables and how to connect them to the network devices. It is important to ensure that the cable routes are as direct as possible and avoid any sources of interference, such as electrical cables, to minimize signal loss.
  1. Install the Cables
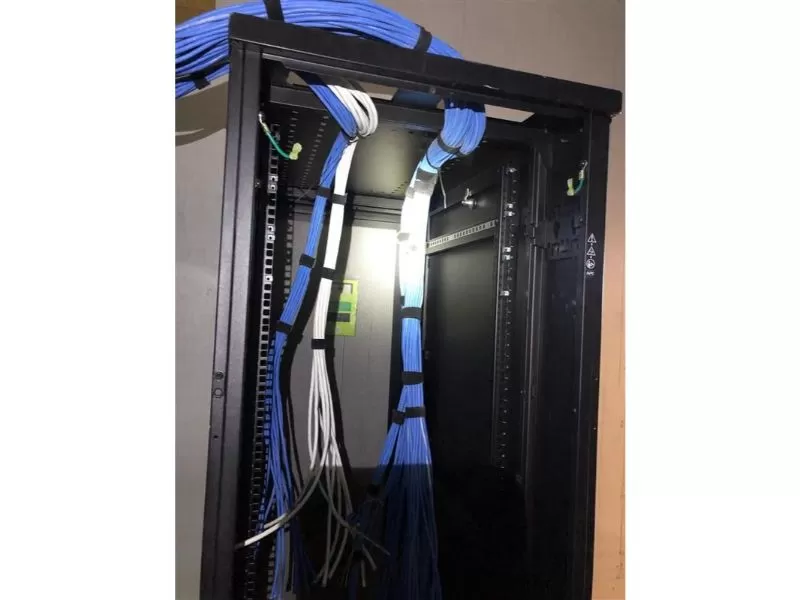
After planning the cable routes, the next step is to install the cables. This involves running the cables through the designated routes and connecting them to the network devices. It is important to ensure that the cables are properly labeled and organized to avoid confusion and make troubleshooting easier.
  1. Test the Network
Once the cables are installed, it is important to test the network to ensure that it is working properly. This involves verifying that all devices are connected and communicating with each other and testing network speeds to ensure they are within the expected range. In conclusion, network cable installation is an essential part of setting up a computer network. It requires careful planning, attention to detail, and a thorough understanding of the network’s needs. By following the steps outlined above, you can ensure that your network cable installation is a success and your network runs smoothly.